156+ Shed Type Roof House Design

 www.housedesignideas.us
 Introduction: Building Your Own Shed-Type Roof House The shed-type roof house, also known as a single-slope or skillion roof house, offers a modern aesthetic, efficient water runoff, and can be relatively simple to construct. This guide provides a step-by-step process for building your own small shed-type roof house. Remember to always consult local building codes and obtain necessary permits before beginning any construction project. Safety should be your top priority.
Planning and Preparation: Essential First Steps Before you even think about hammering a nail, thorough planning is crucial. Design: Sketch your desired floor plan and exterior. Consider the house's purpose (storage, workshop, tiny home), dimensions, window and door placement, and roof pitch. A shallower pitch is easier to build but may require specialized roofing materials for proper waterproofing. A steeper pitch provides better water runoff. Materials List: Based on your design, create a detailed materials list. This includes lumber (for framing, sheathing, and roofing), roofing materials (shingles, metal, etc.), windows, doors, insulation, fasteners (nails, screws), and any other necessary components. Tools: Gather all the necessary tools. Essential tools include a measuring tape, level, square, circular saw, drill/driver, hammer, safety glasses, work gloves, and a ladder. Site Preparation: Clear the building site of any vegetation, debris, and obstacles. Ensure the ground is level and stable. Depending on the size and purpose of your house, you may need to pour a concrete slab foundation, build a pier and beam foundation, or construct a simple gravel pad.
Step 1: Constructing the Foundation The foundation is the base of your entire structure, so accuracy is paramount. Slab Foundation (Optional): If using a concrete slab, pour the concrete according to your local building codes. Ensure it is level and allow it to cure completely before proceeding. Pier and Beam Foundation (Optional): Set concrete piers at predetermined intervals, ensuring they are level. Attach treated lumber beams to the piers to create a stable platform. Gravel Pad (Simpler Option): Spread and compact a thick layer of gravel to create a level and well-draining surface. This is suitable for smaller, less permanent structures.
Step 2: Framing the Walls Framing provides the structural skeleton of your house. Building the Walls: Cut the lumber to the required lengths for the top plate, bottom plate, studs, and headers. Assemble the walls on a flat surface using nails or screws. Ensure the walls are square. Pay close attention to window and door openings, framing them with appropriate headers for support. Raising the Walls: Carefully lift each wall section into place, starting with the longest wall. Use temporary braces to hold the walls plumb (vertical). Connecting the Walls: Securely fasten the walls together at the corners, ensuring they are square and plumb. Use nails or screws to attach the top plate of one wall to the adjacent wall.
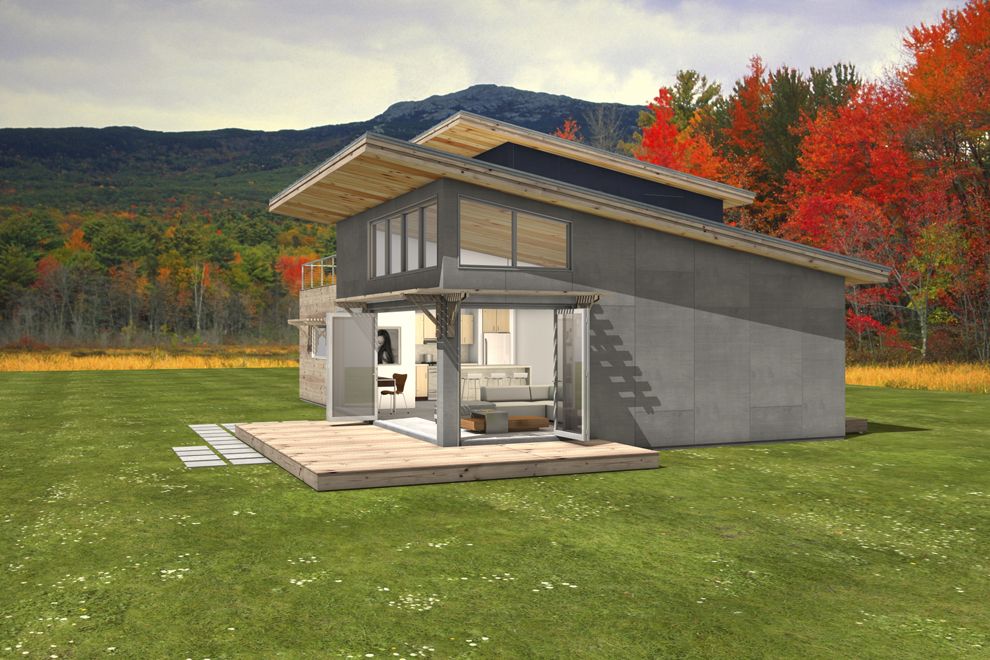
Step 3: Building the Shed-Type Roof The roof's unique shape requires precise measurements and secure connections. Determining the Roof Slope: Decide on the desired roof pitch and calculate the height difference between the high and low ends of the walls. Framing the Roof: Cut rafters to the appropriate length, considering the overhang. Attach the rafters to the top plate of the walls, ensuring they are evenly spaced. For longer spans, you may need to add a ridge beam for extra support. Securely fasten the rafters to the walls and to each other. Sheathing the Roof: Cover the roof frame with plywood or OSB sheathing. Nail or screw the sheathing securely to the rafters, leaving a small gap between the sheets to allow for expansion and contraction.
Step 4: Installing Roofing Materials Protect your house from the elements with proper roofing. Underlayment: Apply a layer of roofing felt or synthetic underlayment over the sheathing to provide an extra layer of protection against water damage. Roofing Material: Install your chosen roofing material (shingles, metal, etc.) according to the manufacturer's instructions. Overlap the material properly to ensure a watertight seal. Flashing: Install flashing around chimneys, vents, and any other roof penetrations to prevent water leaks.
Step 5: Installing Windows and Doors Add functionality and light to your house. Framing the Openings: Ensure the window and door openings are properly framed and square. Installing the Frames: Insert the window and door frames into the openings, ensuring they are plumb and level. Securely fasten the frames to the wall framing. Installing the Sashes/Doors: Install the window sashes and doors into the frames, following the manufacturer's instructions. Ensure they operate smoothly.
Step 6: Finishing the Interior (Optional) Customize the interior to suit your needs. Insulation: Install insulation in the walls and roof to improve energy efficiency and comfort. Interior Walls: Frame and install interior walls to create separate rooms, if desired. Sheathing/Drywall: Cover the interior walls with plywood, OSB, or drywall. Finishing: Paint, stain, or otherwise finish the interior surfaces. Install flooring, trim, and fixtures as desired.
Conclusion: Enjoy Your DIY Shed-Type Roof House Congratulations on building your own shed-type roof house! This project requires careful planning, attention to detail, and a commitment to safety. By following these steps and adhering to local building codes, you can create a functional and aesthetically pleasing structure that will serve you well for years to come. Remember to continuously inspect and maintain your house to ensure its longevity.
Shed Roof House Plans
 nikmodern.com
 Modern House Plans Shed Roof
www.housedesignideas.us Shed Roof House Plans
 plansplace.com

0 Comments